
Thank to Ralph Gable of "Electronics for the inquisitive experimenter" for this cheap and easy way to make a basic 4:1 BALUN.
Ralph takes you step-by-step through the design and construction procedures. Each step is thoroughly explained and demonstrated.
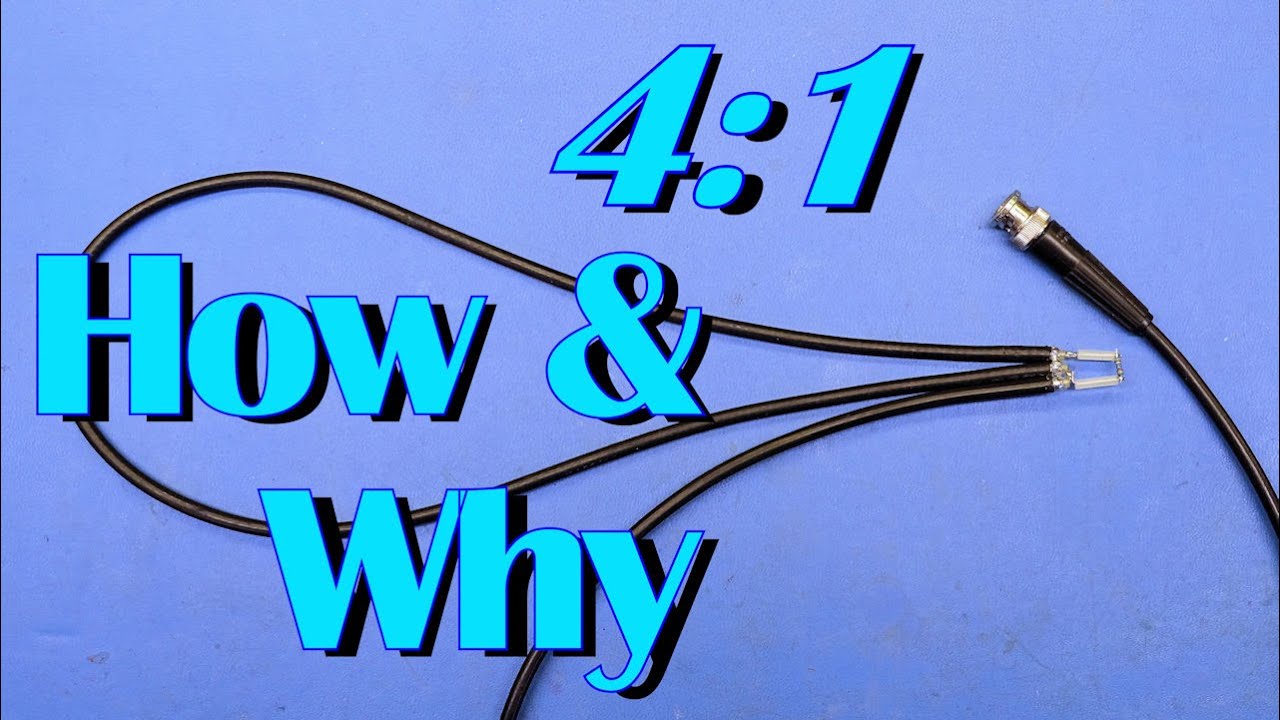
If you can't see the video, please insert this title URL into your browser search box: https://www.youtube.com/watch?v=fG7ZpsjXRW8.
Here are a few comments from Ralph:
In this video I am going to show you how to build a 4:1 BALUN using nothing but a length of coaxial cable.
I will work through the process of design and construction one step at a time with many pictures to show you how I did it.
More than that! I am going to explain WHY it works.
I sourced a number of books and the Internet looking for this answer and I was amazed at how little there was out there. Well, not so here. I give you the explanation plain and simple with simple math.
** IMPORTANT NOTE **
At 14:30 I state that 28.79 inches = 78.13 cm.
REALITY:
28.79 inches = 73.13 cm
Ooops! Well, a 3 does look a lot like an 8. :-/
**Thanks to a viewer for the observant correction!**
PROMISED SPEED OF LIGHT NUMBERS:
C(in/sec) = 11802852677 in/sec
C(cm/sec) = 29979245800 cm/sec
Time Markers for Your Convenience
----------------------------
00:05 Introductory Comments
01:08 The Basic Design
02:32 How does it work
07:37 Designing One
07:37 Gathering needed Information
09:14 Our Design - Information Gathered
11:12 Deciding on a Configuration
13:38 Our choice of configuration
13:57 Calculate the actual length of coax
14:42 Deciding on final Pigtail length
15:03 The Actual Build
15:10 Cutting the BALUN coax to length
15:25 Procuring a feedline
15:37 Cutting the Pigtails
16:07 Stripping the coax and pigtails
16:50 Tinning ALL conductors
17:07 Procure #24AWG wire for BALUN assembly
17:29 Arrange the coax for assembly
18:01 Connecting the shields together with wire
18:20 Soldering the shield connections
19:04 Connect the feedline to the BALUN coax
19:38 Adding the pigtails
19:41 The feedline/BALUN coax pigtail
19:56 The BALUN coax pigtail
20:04 Final Inspection before test
20:27 Testing & Adjustment
20:31 Initial Test with results
21:37 Weatherize your BALUN
22:02 Adjustment
23:20 FINAL TEST RESULTS
23:59 Lessons Learned: Experiment Debriefing
25:45 Final Comments and toodle-oots
-----------------------------
Chapters


